When you log in to Admin hub you have to go to the sidebar and find Finances. From here, you go to Settings. When you go to your finance settings you are automatically on your corporation, this means the main account for all of your projects, if you wish to only set up payments for a specific project, then you simply go to the project selector and choose the relevant project - follow the rest of these steps as per usual.
Account
In your finance settings, the first tab is accounts. You need to set up a few accounts to get started:
- Bank Account
- The Bank Account is typically your main/default bank account. This account is used for sending and receiving money through your corporation or project.
- You need at least two bank accounts: one for sending and receiving money, and one for holding temporary funds during payment processing.
- Control Account
- The Control Account is used for the VAT account, we will set this up later, and is required for VAT tracking. This account will keep track of VAT amounts collected or paid.
- Operating Expense Account
- This account is for general fees, tracking any fee that is deducted from payments, such as transactions or service fees.
- Operating Revenue Account
- This account is for recording the income or revenue you earn.
- Client Receivable Account
- This account tracks amounts owed by tenants but not yet paid
In order to add a new account, you need to click the blue button in the right-hand corner that says +Add new. From here, a pop-up window will appear, and you need to fill out the name of the account, the code of the account, or the account number, and which type of account it is (one of the ones mentioned above). The name and code of the accounts can be anything that makes sense for you and your company.
Now that you have done this, you should end up having: 2xBank accounts, 1xControl account, 1xOperating expense account, 1xOperating revenue account and 1xClient receivable account.
VAT
The second tab in the finance settings is the VAT-tab. This is where you have the overview of all of your VAT codes. Now let's set up your VAT:
- Click the blue button that says +Add new.
- Fill out the pop-up window.
- Name your VAT code, be sure it makes sense for you and your company.
- Insert your VAT code.
- Fill out the VAT percentage, e.g., 25%.
- The account must be a Control account.
- Click Save.
You have now set up your VAT code. You can make as many VAT codes as necessary.
System accounts
It is now time to map your accounts. Go to the third tab in Finance settings called System accounts. From here, you assign the accounts you created earlier to their appropriate system role. This ensures that our system knows which account is used for what type of financial transaction. You should fill out the following:
- Default bank account
- Must be an account of the type Bank.
- Payment provider holding account
- Must be an account of the type Bank.
- General fee account
- Must be an account of the type Operating Expense.
- General revenue account
- Must be an account of the type Operating Revenue.
- Client receivable account
a. Must be an account of the type Client receivable.
Remember to click Save accounts when you have filled them all out.
Also, please note that the Default bank account and Payment provider holding account must be two different accounts, hence why we recommended creating two bank accounts earlier.
Stripe integration
You are now ready to integrate with Stripe! Under finance settings, go to the last tab, Payment providers. When you have not set up the integration to Stripe you will see this:
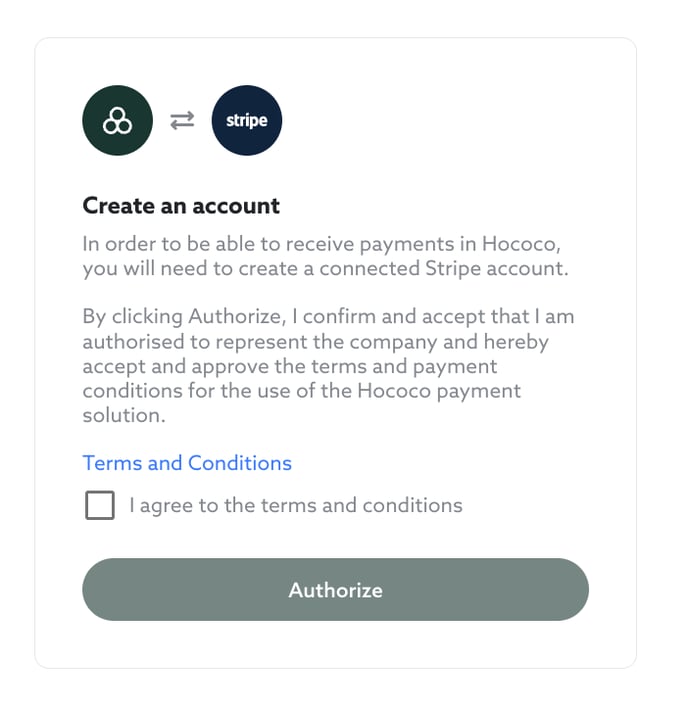
As always, read the terms and conditions, tick off the "I agree to the terms and conditions"-box, and then click Authorize. You will now be taken to the Stripe set-up flow. Follow the instructions shown and finalise the set up. If you run into trouble during this step, you can always reach out to us at support@hococo.io.
When you have set up your Stripe integration, you will be able to go to your dashboard through this tab. You can now accept card payments and manage payouts!
You're all set!
Once you have completed these steps, your corporation or project is ready to start using payments!
If you need further assistance at any point, feel free to reach out to our support - they are always happy to help - support@hococo.io